Pages

Showing posts with label rosettes. Show all posts

Monday, June 17, 2013

306.8742 (Father-child relationship)

While I didn't get to spend Father's Day with my Popsi-Cola yesterday, I did make some cupcakes for the party at my Aunt Jan's and Uncle Gary's in honor of my Pop's Pop (my Grandpa) and got to test my homemade lighting rig for the first time.


Check out that photo! Not even edited! Following the "How to Make an Inexpensive Light Tent - DIY" tutorial written by Darren Rowse on the Digital Photography School blog, I made my own lighting rig using an old U-Haul box, white tissue paper, packing tape, and some leftover scrapbook paper. It looks something like this:

Lighting rig all set up.
The lamps are  from the local Wal-Mart (about $5 a piece) and I'm using daylight florescent bulbs/lamps in both. The rig is small enough that the box stores in a closet and the lamps just hang out in my kitchen until I need them again.

Lamps chillin' out of the way on the counter.
The cupcakes are simple white cake (with yolks in... I was lazy) with fresh raspberry butter cream frosting (we had leftover raspberries in the fridge). The design is just a simple rosette on top. So to conclude this post, a few more cupcake photos and some pictures of me and my Pops. What can I say, I'm a daddy's girl at heart.

Mmmm... raspberry butter cream!

Yes, two liners. It stops any oily marks from the cake and make it more delicate.

It takes quite a man to be a good father. I'm pretty sure that I've got one of the best!

Friday, May 17, 2013

793.2 (Parties and entertainments)

I just hosted a bridal shower for my best friend and her future hubby, and with the help of my mother and the bride and groom's mothers, we turned a basement room of a local art museum into a cheery, "Breakfast at Tiffany's" themed shower space.

 I bought vases, beads, and tiny square mirrors at our local Dollar Tree to create 10 small centerpieces to decorate the tables using dyed daisies, carnations, and baby's breath.


I purchased "high quality" plastic silver ware and plates from Party City. I then baked and decorated sugar cookies, which I packaged in paper CD sleeves and tied with black and white bakers twine. Silver chargers (left over my my own wedding almost 3 years ago) were used to complete the place settings.


When we arrived at the museum, my moms (my actual mother and my "other mother", the bride's mother) discovered that the tables weren't the size we thought they were - we were expecting tables that sat 8 and these tables sat 6. We had to go out and buy some tablecloths last minute... and since Manitowoc (where we hosted the shower) doesn't have a Party City, we couldn't match the Tiffany's blue of the other tablecloths I purchased). It wasn't as pretty as I would have liked, but it worked.


And of course I made a cake and cupcakes for the party! How could I not!?! The cupcake tower is made out of aluminum covered soup cans and foam core board covered with craft paper and ribbon. It was cheap and easy and could hold almost 40 cupcakes.


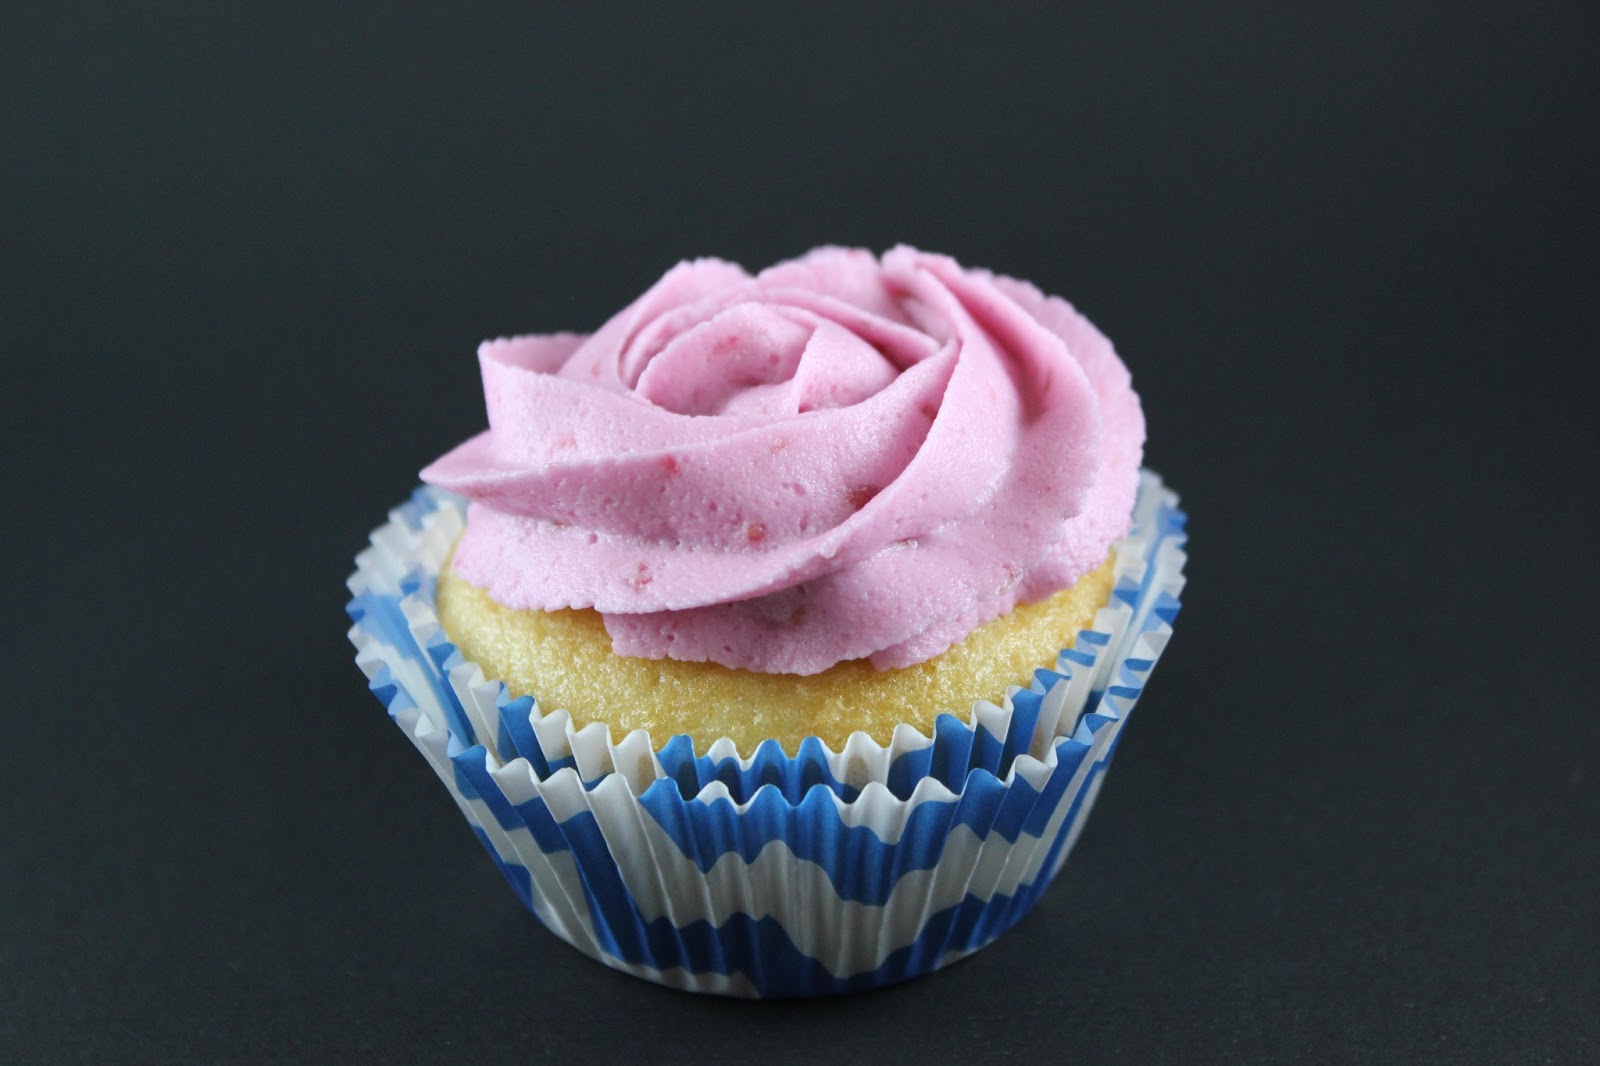
The small orange and white cake had a blue ombre interior, which I didn't get a picture of before the cake was eaten and destroyed, and the cupcakes were chocolate with simple vanilla buttercream. I had a mixture of paper and foil liners on the cupcakes, as I was using the leftovers from other projects.


I made three floral "puffs" that I placed on chargers and mirrors at the center of the buffet table. They're a little hard to see in this photo (it's white against a white background) but they were very effective at making the buffet table look pretty. My black and white damask tablecloth that I usually use for summer picnics came in handy to cover the extra long buffet table.

All in all, it was a successful shower with delicious food and good company! One less activity to cross off my list before the wedding in June... now if only the table runners and bridesmaid clutches would sew themselves...


Tuesday, April 2, 2013

641.568 (Cooking for special occasions)

A SUPER special occasion just happened - and that would be my husband's 30th birthday! My parents stopped down to celebrate with us and in order to better celebrate his birthday, I baked a cake and decorated it with my FAVORITE, SUPER SIMPLE type of decoration - the rosette!

6" layer cake (white) with buttercream icing
Having seen the technique a thousand and a half times on Pinterest, I decided it was time to try the all rosette cake cover for myself.

Ombre technique inside and out the cake

To stack, frost, and completely cover the 6" cake in rosettes took about 10-15 minutes and produces a BEAUTIFUL cake. I used the ombre technique in green (since it's my husband's favorite color) to make the inside just as pretty as the out. There's a thin layer of buttercream between each of the cake layers as well.

Green ombre using buttercream

I am completely in love with this cake technique and will DEFINITELY be using it again in the future!